Best alternative to network fluke cable tester
Test cable runs for real throughput using two £30 USB-C adapters and iperf3 — a £80 alternative to a Fluke tester when full certification isn't needed.
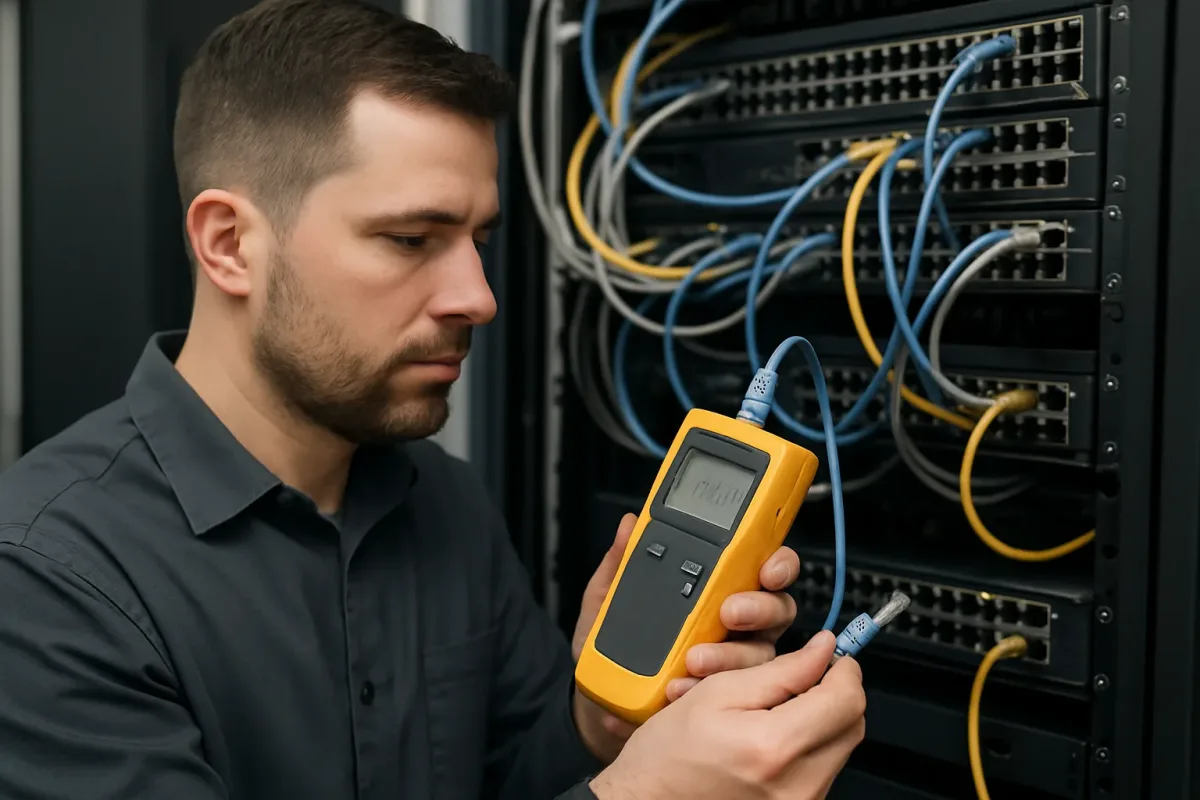
A Fluke LinkIQ or DSX cable analyser is the correct tool for certifying structured cabling, and it costs thousands. If you only need to know whether a run is fit to carry multi-gigabit traffic, two £30 USB-C network adapters and a free piece of software will tell you most of what you need — for about £80 all in.
Why a £10 continuity tester tells you almost nothing
The cheap testers everyone owns check one thing: that pin 1 at this end is connected to pin 1 at the other end, and so on through all eight. That is worth knowing — it catches the split pairs, crossed wires and open conductors that account for most botched terminations — but a cable can pass a continuity test and still be useless.
Untwisted pairs at the punchdown, a kinked run, a cable that has been stapled through, proximity to fluorescent lighting or a mains run, a slightly loose IDC contact, or simply Cat5e where somebody assumed Cat6: all of these pass continuity and then fail to sustain the speed you needed. The tester says the cable is fine. The network says otherwise.
What we actually want to know is whether the cable will carry traffic at speed, reliably, in both directions. That is a throughput question, and throughput is something you can measure with commodity hardware.
What you need
A continuity tester
Around £10. Still the first step — there is no point chasing throughput on a cable with a split pair. Confirm the wiremap is correct before you measure anything.
Two 5Gbps USB-C LAN adapters
UGREEN's USB-C 5Gbps wired LAN adapter (model 35921, Realtek RTL8157 chipset) is the cheap option that works. Two of them, roughly £30 each. Anything limited to 1Gbps is pointless here — you cannot detect a cable that tops out at 1Gbps using an adapter that also tops out at 1Gbps.
A laptop with real USB ports
Both adapters can go in one machine, or use two machines. What matters is that the ports are genuinely 5Gbps or faster — see the port reference below, because this is where most people's test is quietly capped before it starts.
iperf3
Free, cross-platform, and the standard tool for this. One instance acts as server, the other as client, and it reports throughput, retransmits, jitter and packet loss.
The method
Check the wiremap first
Run the continuity tester end to end. If it fails, stop — re-terminate and start again. Nothing below is meaningful on a miswired cable.
Install the correct drivers
This step gets skipped and it ruins results. The generic driver Windows installs will often run the adapter far below its rated speed. Get the proper driver for the RTL8157 chipset from UGREEN's support download page — search for model 35921 — and install it on both machines before testing. Our own driver pack covering Windows 10, Windows 11, Linux and macOS is linked at the end of this article.
Establish a baseline — this is the step everyone misses
Connect the two adapters to each other with a short, known-good patch lead — half a metre of factory-made Cat6a. Run the test and record the number. That result is the ceiling your kit is capable of: your USB bus, your adapters, your CPU. Every subsequent measurement is compared against this, not against 5Gbps. Without a baseline you cannot tell a bad cable from a slow laptop.
Now test the cable in question
Swap the patch lead for the run you are assessing, using the same ports and the same machines. Note the link speed each adapter negotiates as well as the throughput — a 100m run that syncs at 1Gbps when the baseline synced at 5Gbps has already told you something important before iperf3 even starts.
Test both directions, then both at once
A default iperf3 run only measures client to server. Cable and adapter faults are frequently asymmetric, so run the reverse direction too, then a bidirectional test to load the link in both directions simultaneously. That last one is the real test of the physical link.
Test for loss, not just speed
Finish with a UDP run at a fixed rate. TCP hides problems by retransmitting; UDP shows you the packet loss and jitter directly. A cable that delivers respectable throughput while quietly dropping packets is a cable that will cause intermittent, maddening faults later.
Reference: ports, commands and how to read the results
Everything you need while you work: what your USB ports can actually do, the exact commands to run, and how to interpret what comes back.
USB port reference
What your ports can actually do
| Name you'll see | Also called | Real speed | Use for this test? |
|---|---|---|---|
| USB 2.0 | — | 480 Mbps | No. Slower than gigabit ethernet. |
| USB 5Gbps | USB 3.0, USB 3.1 Gen 1, USB 3.2 Gen 1 | 5 Gbps | Minimum viable. Expect around 3.5 Gbps of usable throughput. |
| USB 10Gbps | USB 3.1 Gen 2, USB 3.2 Gen 2 | 10 Gbps | Ideal. No USB bottleneck at 5Gbps ethernet. |
| USB 20Gbps | USB 3.2 Gen 2×2 — USB-C only | 20 Gbps | Ideal, and more than you need. |
| USB4 / Thunderbolt 3, 4, 5 | — | 40 Gbps and above | Ideal. |
Three different naming schemes describe the same three speeds, which is why so many people test through a bottleneck without realising. USB 3.0, USB 3.1 Gen 1 and USB 3.2 Gen 1 are all the same 5Gbps port. Gen 2 is 10Gbps. Only Gen 2×2 is 20Gbps, and it is USB-C only — there is no 20Gbps USB-A port.
Port colours — a convention, not a standard
| Colour | Usually means | Verdict |
|---|---|---|
| White | USB 1.x, 12 Mbps | Useless here. |
| Black | USB 2.0, 480 Mbps | Useless here. |
| Blue | USB 3.0 / 3.1 Gen 1, 5 Gbps | Usable — but verify, some are mislabelled. |
| Teal or red | USB 3.1 / 3.2 Gen 2, 10 Gbps | Ideal. |
| Yellow or orange | Always-on charging or high-powerThis indicates power delivery, not data speed. A yellow port may be USB 2.0 internally. | Check the manual before trusting it. |
Colour coding is a manufacturer convention, not part of the USB specification, and vendors break it routinely. Always confirm against the machine's own documentation rather than the colour of the plastic. If you cannot find it, run the baseline test — a port that caps out around 400 Mbps is a USB 2.0 port whatever colour it is.
The iperf3 commands
Run these in order. Replace 192.168.1.1 and 192.168.1.2 with the addresses you have given the two adapters — they must be on the same subnet, and static addresses are easier than waiting for DHCP that isn't there.
iperf3 -s -B 192.168.1.1Binding to a specific address with -B matters when both adapters are in the same machine — without it, traffic can loop internally and never touch the cable at all, giving you a spectacular and completely meaningless result.
iperf3 -c 192.168.1.1 -B 192.168.1.2 -t 30The default direction. Measures the client's transmit path and the server's receive path.
iperf3 -c 192.168.1.1 -B 192.168.1.2 -t 30 -RThe -R flag reverses the flow. Run this every time — asymmetric results are the single most common finding, and a default test alone would never show it.
iperf3 -c 192.168.1.1 -B 192.168.1.2 -t 30 --bidirThe real test of the physical link. Loads transmit and receive simultaneously, which is where marginal cabling and full-duplex problems show themselves. Requires iperf3 3.7 or later.
iperf3 -c 192.168.1.1 -B 192.168.1.2 -t 30 -P 8Eight parallel streams. If a single stream is slow but eight streams saturate the link, the limit is your CPU or the driver, not the cable.
iperf3 -c 192.168.1.1 -B 192.168.1.2 -u -b 4G -t 60 -i 1Pushes 4 Gbps of UDP for a minute, reporting per-second jitter and loss. TCP masks a marginal cable by retransmitting; UDP shows you the damage. This is the test that catches the cable causing intermittent faults nobody can reproduce.
Reading the results
What the numbers are telling you
| What you see | What it usually means | What to do |
|---|---|---|
| Throughput within ~10% of your baseline, both directions, no loss | The cable is carrying what your kit can deliver | Pass, for practical purposes. |
| Link negotiates 1 Gbps when the baseline negotiated 5 Gbps | The run cannot sustain multi-gig — length, cable category, or a poor termination | Re-terminate both ends and retest before condemning the run. |
| Good one way, poor the other | Almost always the receiving adapter, not the cable — flow control, power saving or interrupt handling | Work through the adapter settings below, then retest. |
| Throughput fine, UDP loss above roughly 0.1% | A marginal link. Enough to work, not enough to be reliable | Investigate. This is the profile of the fault that gets blamed on the software for six months. |
| Throughput collapses only during the bidirectional test | Full-duplex or crosstalk problem — often a split pair that still passes continuity | Re-terminate. If it persists, the run needs certifying properly. |
| Speed drops the longer the test runs | Thermal or power management on the adapter, or USB power saving | Set the power plan to high performance and disable USB selective suspend. |
Always compare against your own baseline rather than against 5 Gbps. If your laptop's USB port tops out at 3.4 Gbps with a half-metre factory patch lead, then 3.3 Gbps over a 40-metre run is an excellent result, not a 34% failure.
When the results look wrong
Before you condemn a cable, rule out the adapter. Asymmetric results — fast one way, slow the other — are almost always a setting on the receiving adapter rather than a fault in the copper. Work through these on the adapter that is performing badly on receive, then retest.
Disable flow control
The most common culprit. IEEE 802.3x flow control lets a receiver tell the sender to pause when its buffers fill, and a congested receive buffer then throttles the whole transfer. Device Manager → Network adapters → adapter → Properties → Advanced → Flow Control: Disabled. Disable Rx and Tx separately if both are listed.
Turn off Energy-Efficient Ethernet
EEE (802.3az), Green Ethernet and Lite Mode all put the link to sleep between bursts, producing wildly inconsistent and asymmetric results. Disable every power-saving property on the adapter, on both machines.
Adjust interrupt moderation
Interrupt moderation batches incoming packets to reduce CPU load, at some cost to latency and peak throughput. Set it to Disabled, or a lower value, while testing.
Raise receive buffers, check RSS
Increase Receive Buffers or Receive Descriptors from the default — 128 to 256 or 512 is a reasonable step. Confirm Receive Side Scaling is enabled so processing spreads across cores; if it already is, toggle it off and on.
Force speed and duplex
If auto-negotiation settles somewhere odd, set Speed & Duplex explicitly — 5.0 Gbps full duplex if offered, otherwise 2.5 Gbps full duplex — on both machines. Set it back to auto afterwards; this is a diagnostic step, not a permanent configuration.
Flip the USB-C plug
It sounds absurd and it works often enough to be worth thirty seconds. USB-C connectors sometimes negotiate a stable high-speed link in only one orientation, thanks to port wiring and handshake quirks. Unplug, rotate 180 degrees, retest.
Plug in directly
No docks, no hubs, no USB extension cables. Every one of them can cap the link or introduce its own bottleneck, and a dock shared between both adapters will halve your ceiling. Straight into the machine's own port.
Set power to high performance
Windows power management throttles USB controllers aggressively on battery. Set the power plan to High Performance, disable USB selective suspend, and keep the laptop on mains for the duration of the test.
What a good result actually looks like
Do not expect 5 Gbps. A 5Gbps USB bus uses 8b/10b encoding, so 20% of the raw signalling rate is consumed before any data moves: 5,000 Mbps becomes roughly 4,000 Mbps of usable bandwidth. Take off protocol overhead, driver efficiency and the CPU cost of moving packets, and around 3.5 Gbps is a strong single-stream result — about 87% of the theoretical ceiling.
If your baseline sits at 3.5 Gbps and you are on a 5Gbps port, that is the host controller talking, not the adapter. Move both adapters to 10Gbps ports and the full 5 Gbps becomes reachable. If your baseline sits near 940 Mbps, something in the chain is negotiating gigabit — check the port speed, the driver, and that you are not going through a dock.
Worth knowing for context: 2.5GBASE-T runs over Cat5e to 100 metres, and 5GBASE-T over Cat6 to 100 metres, under IEEE 802.3bz. A cable that will not hold 2.5 Gbps over a normal-length run is telling you something is genuinely wrong with the installation, not that you bought the wrong category of cable.
The kit and the drivers
A continuity tester proves the wires are connected. Only traffic proves the cable works.
Need it certified properly?
For new installs, warranties and anything you have to sign off, we certify structured cabling with the proper equipment and hand over the reports. We also install it in the first place — see our network installation service.